Container Plantings
Landscape need a punch of color? Front entry desperate for a bit of cheer? Or perhaps your spring annuals are withering in the heat? Beth Burrell, garden designer and consultant, suggests a simple solution: DIY container plantings filled with summer annuals and perennials. Not only will they brim with color, texture and interest. They will jazz up your outdoor settings and boost your home’s curb appeal.
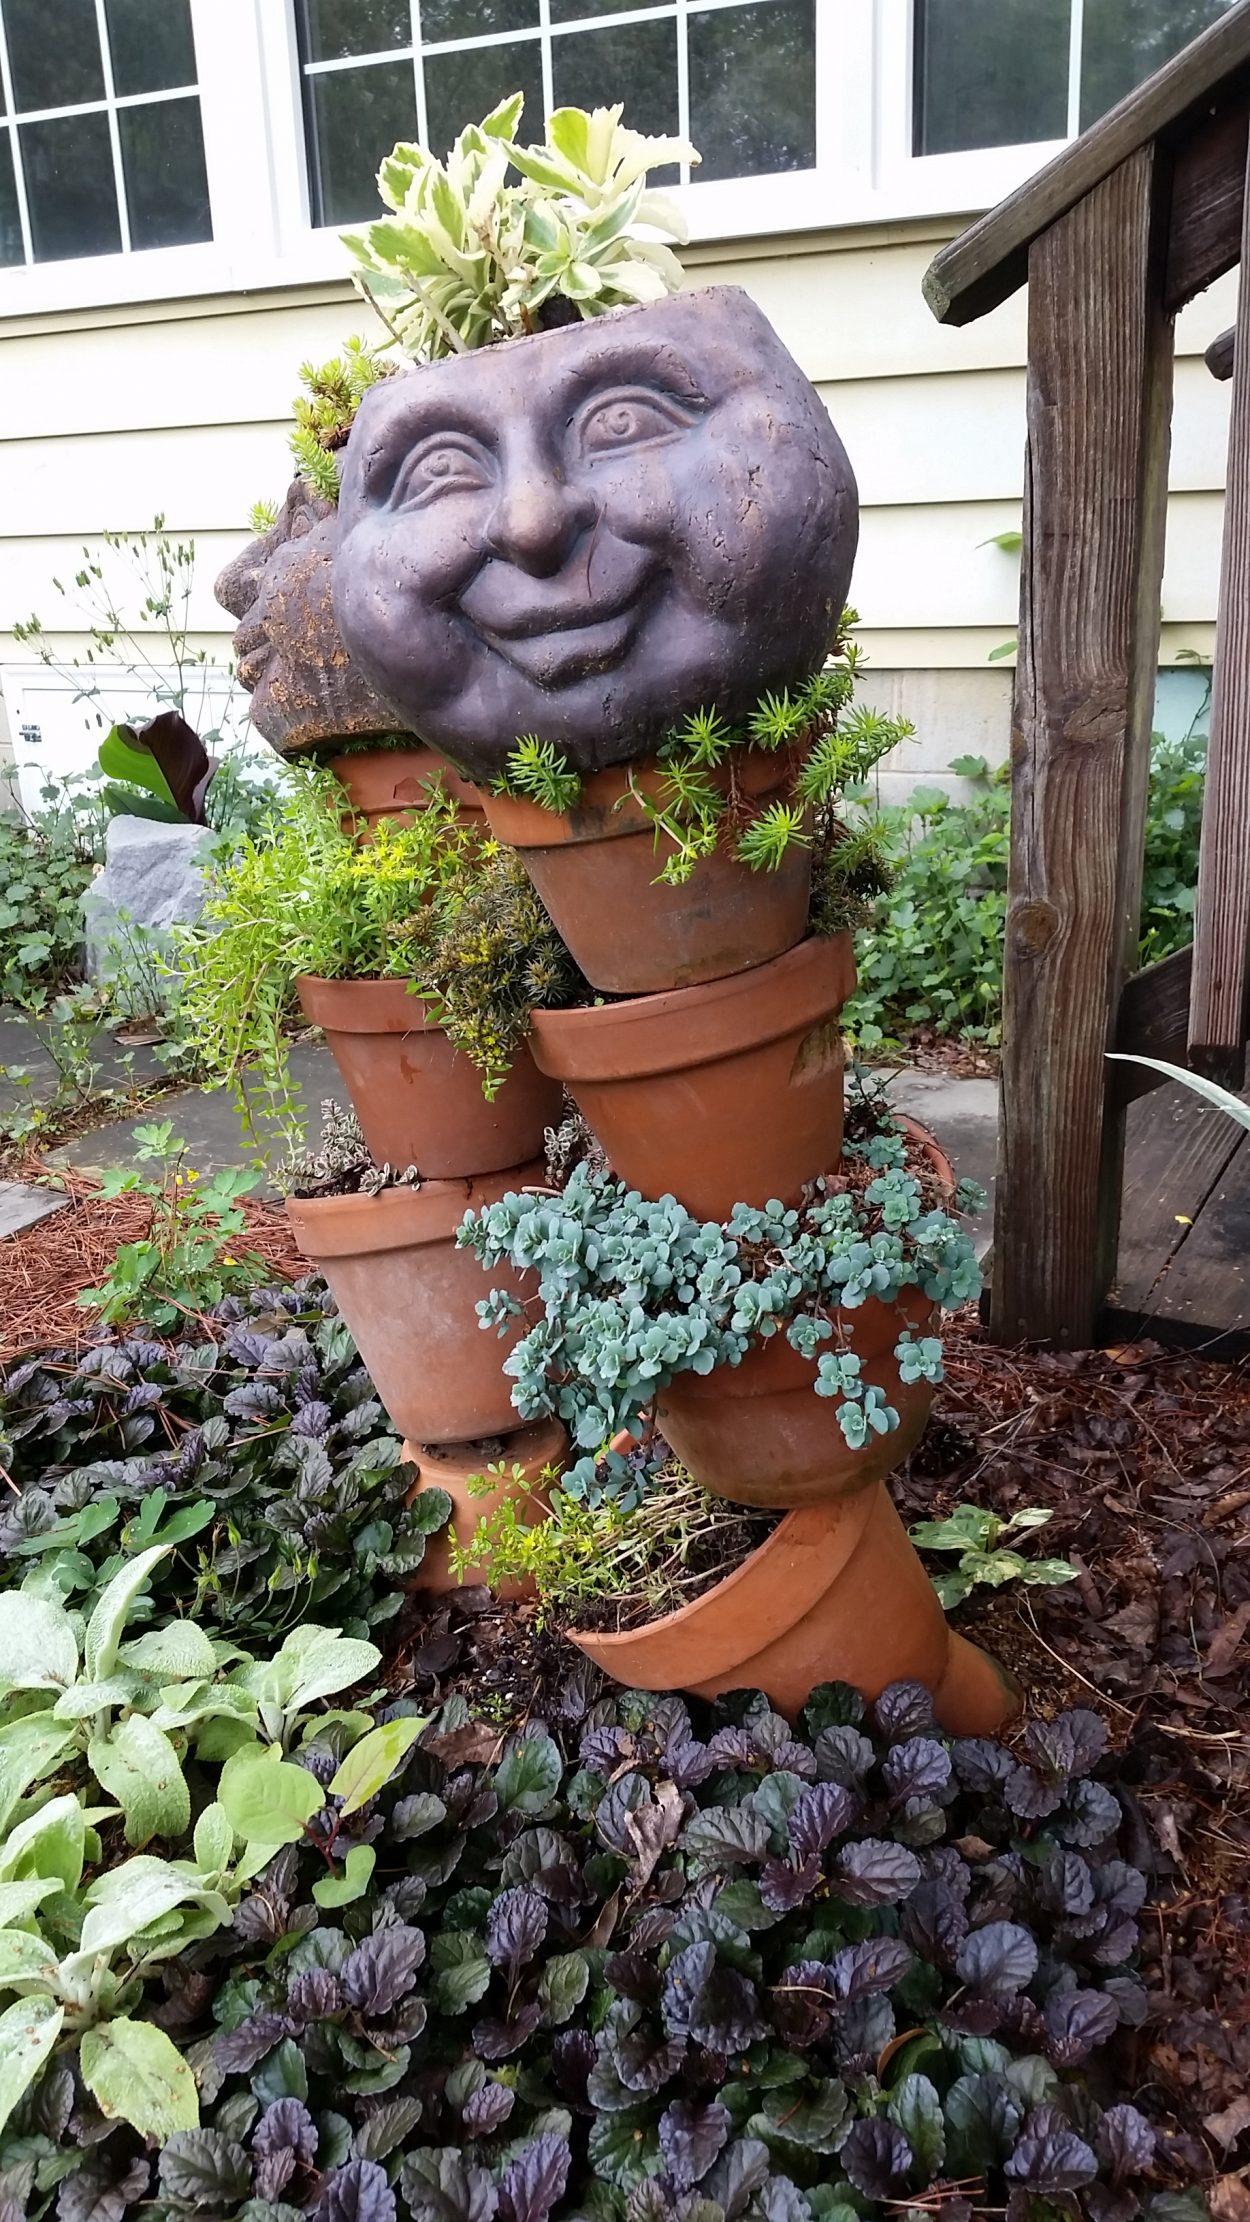
Sometimes the containers are as fascinating as the plants themselves.
Though ready-mades are readily available, she encourages creating and customizing your own.
“Container plantings also give the effect of a garden, even when there’s not a lot of land,” Burrell said.“They’re easy to make, fit most any space and unlimited options give you almost instant gratification,” she said.
Burrell should know, since she and her husband nurture some 10,000 plants of their own in Mechanicsville.
Container: Finding the perfect container comes first.
“What you use is up for grabs,” Burrell said. “Show your personality, use your favorite colors and repurpose whatever you find.” The thrill of the hunt may take you to yard sales, thrift shops or perhaps your own attic. A leaky garden fountain can be pulled out of storage and its basin filled with blooming plants. The cane seat of a rickety chair can be replaced with a snug-fitting container boasting perennials. Burrell’s favorite find to date came from a farm auction: a 6-foot feeding trough for pigs. It now sports a precious fairy garden.
Container selection depends on the intended location, too. Will there be direct sunlight six or more hours a day, or shade with dappled light? For southwestern exposures, light-colored planters do best. Dark containers, especially metal, tend to absorb the sun’s heat, quickly drying the soil and sometimes baking plants.
Check whether the container has holes for drainage. If not, add several. Otherwise, sitting water can drown plants or support root rot.
Also make a note how many plants the container might hold, based on estimated plant size at maturity.
Plants: Next comes the fun part: plant selection at a local nursery or retailer. Take your notes about specific needs and intended location, since large-scale nurseries can muddy your mission with volumes of plants, as well as enticing displays and sales. More than likely, if you need a shady plant it will be found under a shade cloth. Sun-lovers should be out in the open. Always read the plant tags to match right plant with right place. Even if the species is familiar, remember that each variety might have different sun and water needs.
“I recommend a combination of thrillers, fillers and spillers,” Burrell said. A thriller is the taller “wow” plant that grabs your attention because of its unique qualities. Summer thrillers range from canna and elephant ear to spiky cordyline and ornamental grass. A small shrub or tree also works as a container focal point, but typically it’s temporary. Its root system could outgrow the container over time, unless a dwarf variety is selected, an extra-large container is used or root reduction is later implemented.
After pinpointing the thriller, look for complementing fillers to create a massed look. Typically, they’re smaller and more finely textured than the thriller. Examples are purple or gold-foliage coral bells, summer-blooming begonia, coleus and Diamond Frost spurge.
To complete the look, buy a few spillers: plants that will cascade down the sides of the container. Creeping jenny, sedum, sweet potato vine and Supertunias® tend to work well, especially for the novice gardener.
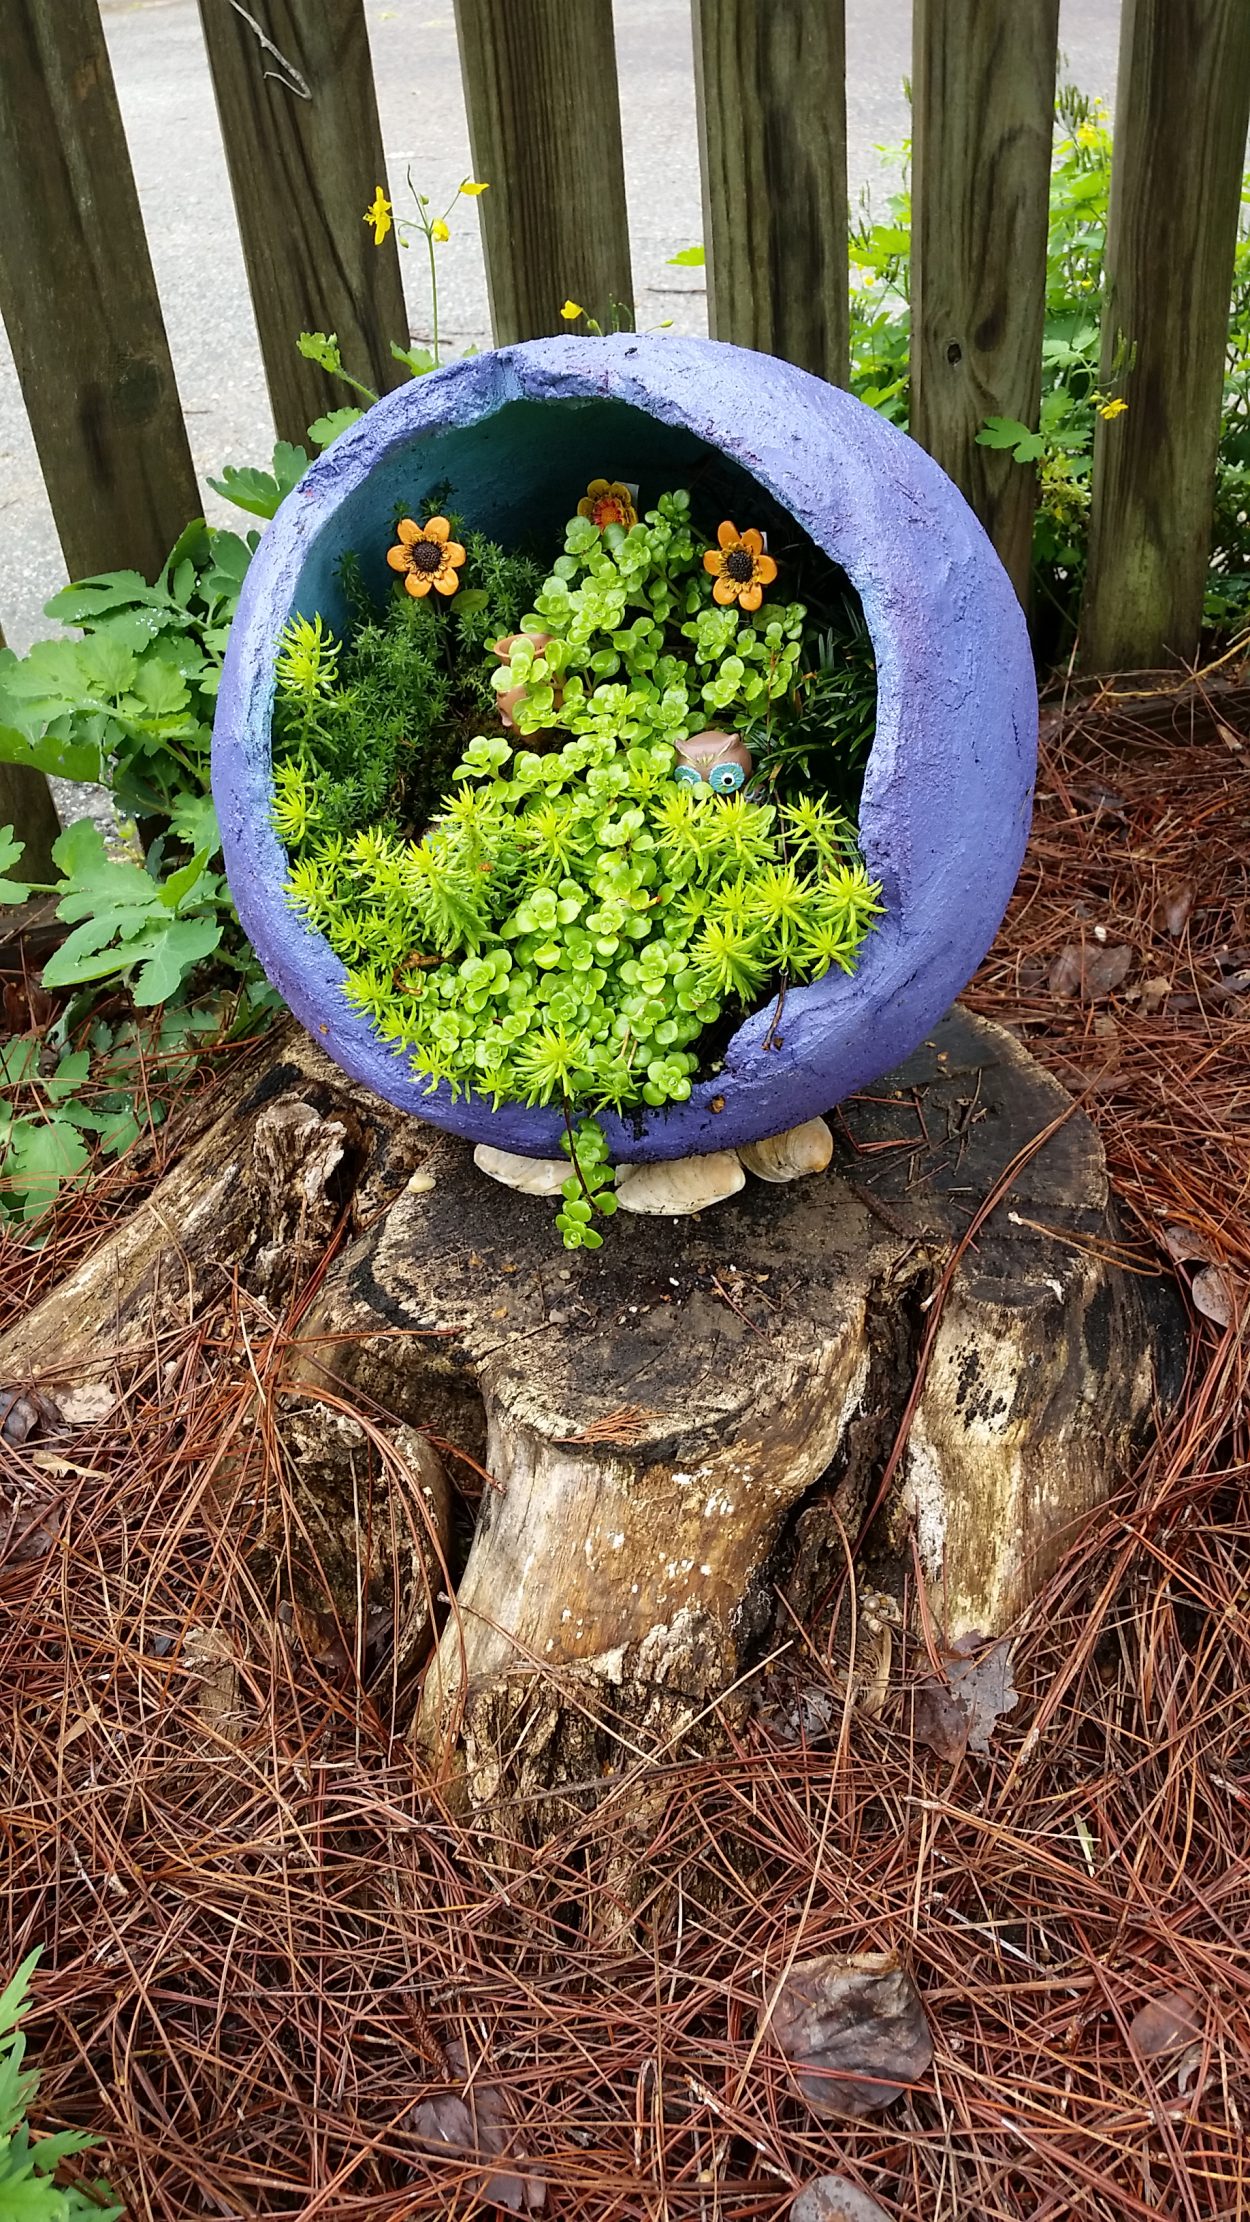
A broken sphere sculpture, made by Beth Burrell, returns to the garden as a colorful vessel for Tiny Tears and Angelina sedums.
Soil: While you’re shopping, why not pick up a prepared soil mix so there’s no guesswork?
“Don’t use yard soil,” Burrell said. “It’s heavy, not light and fluffy, so it doesn’t work well.” Even if your yard soil seems okay, it may be infested with insects and weeds. Burrell recommends a mix of peat moss, vermiculite, perlite and pine bark combined with a slow-release fertilizer. She also cautions buyers to be wary of super discounts. A closer look at the ingredient list may reveal nutritionless blends primarily of bark and dust.
When you get home, clean the desired container and add soil until it’s about three-quarters full. Then shift the soil so there’s ample room for the plants and their roots. Plant the thriller first, followed by the fillers and finally the spillers. Punch down the soil medium around the plants until air holes are removed and soil is somewhat compacted, taking care not to break stems. Add more soil as needed, but make sure the top of each root ball remains level with the soil surface. Dress the top with a light layer of fine mulch or peat moss to finish the look and keep dirt from splashing onto foliage when watering.
Water: Lastly, give your plants a refreshing dose of water – but make sure it’s the right amount. You never want to give plants just a sip, nor do you want to drown them. Conversely, if plants are allowed to dry out completely, the soil can shrink from the sides of the container.
“Water is non-negotiable for container gardens,” Burrell said. “However, the amount varies with sun exposure, container material, temperatures, wind and rain.” After the initial planting and watering, Burrell suggests sticking your finger into the soil up to your first knuckle to determine when more water is needed. During the peak of summer, you may need to water your container more than once a day. Add water until you see it flush through the drainage holes. And remember there are always exceptions—like succulents and drought-tolerant plants—so keep plant labels for quick reference.
Fertilizer: If the soil mix contains fertilizer, additions probably won’t be needed for several weeks. At that time, annuals may benefit from additional nutrients that help promote growth and flowering. Whether you use homemade compost tea or purchased plant food, be sure not to over-fertilize. Too much can burn the plant and cause more harm than good.
Display: Set your finished product on your front porch, patio or nestled in the landscape, then nurture it through the summer with pride.
“Looking at and enjoying the beauty of container plantings makes me always smile,” Burrell said. “They’ll put a smile on your guest’s face, too.”
Want to learn more? Beth Burrell regularly teaches classes at Lewis Ginter Botanical Garden on container plantings and more. Register now for Container Gardens: Planning and Maintaining, Vines and Groundcovers for Virginia Gardens and more. Visit our website to see our current class schedule.
_________
Container Gardening Tips
Before adding a soil medium, line the container’s drainage holes with a coffee filter, fine mesh screen or interface material from a fabric store. It will help keep wet soil from seeping onto your patio or deck during watering.
After planting, use a clean paintbrush to whiff soil residue off the lip and sides of the container.
Some edible plants work well in containers. Enjoy the harvests, then let them go to seed for continued visual interest – either left in the container or cut for floral arrangements.
Search Facebook for Garden Swap, Richmond Area to find local plant-exchange opportunities.
This article first published June 2017, in the Richmond Times-Dispatch.

Beth Burrell created a fanciful fairy garden in a discarded pig trough, which she discovered at a farm auction.