Orchid Care for Beginners
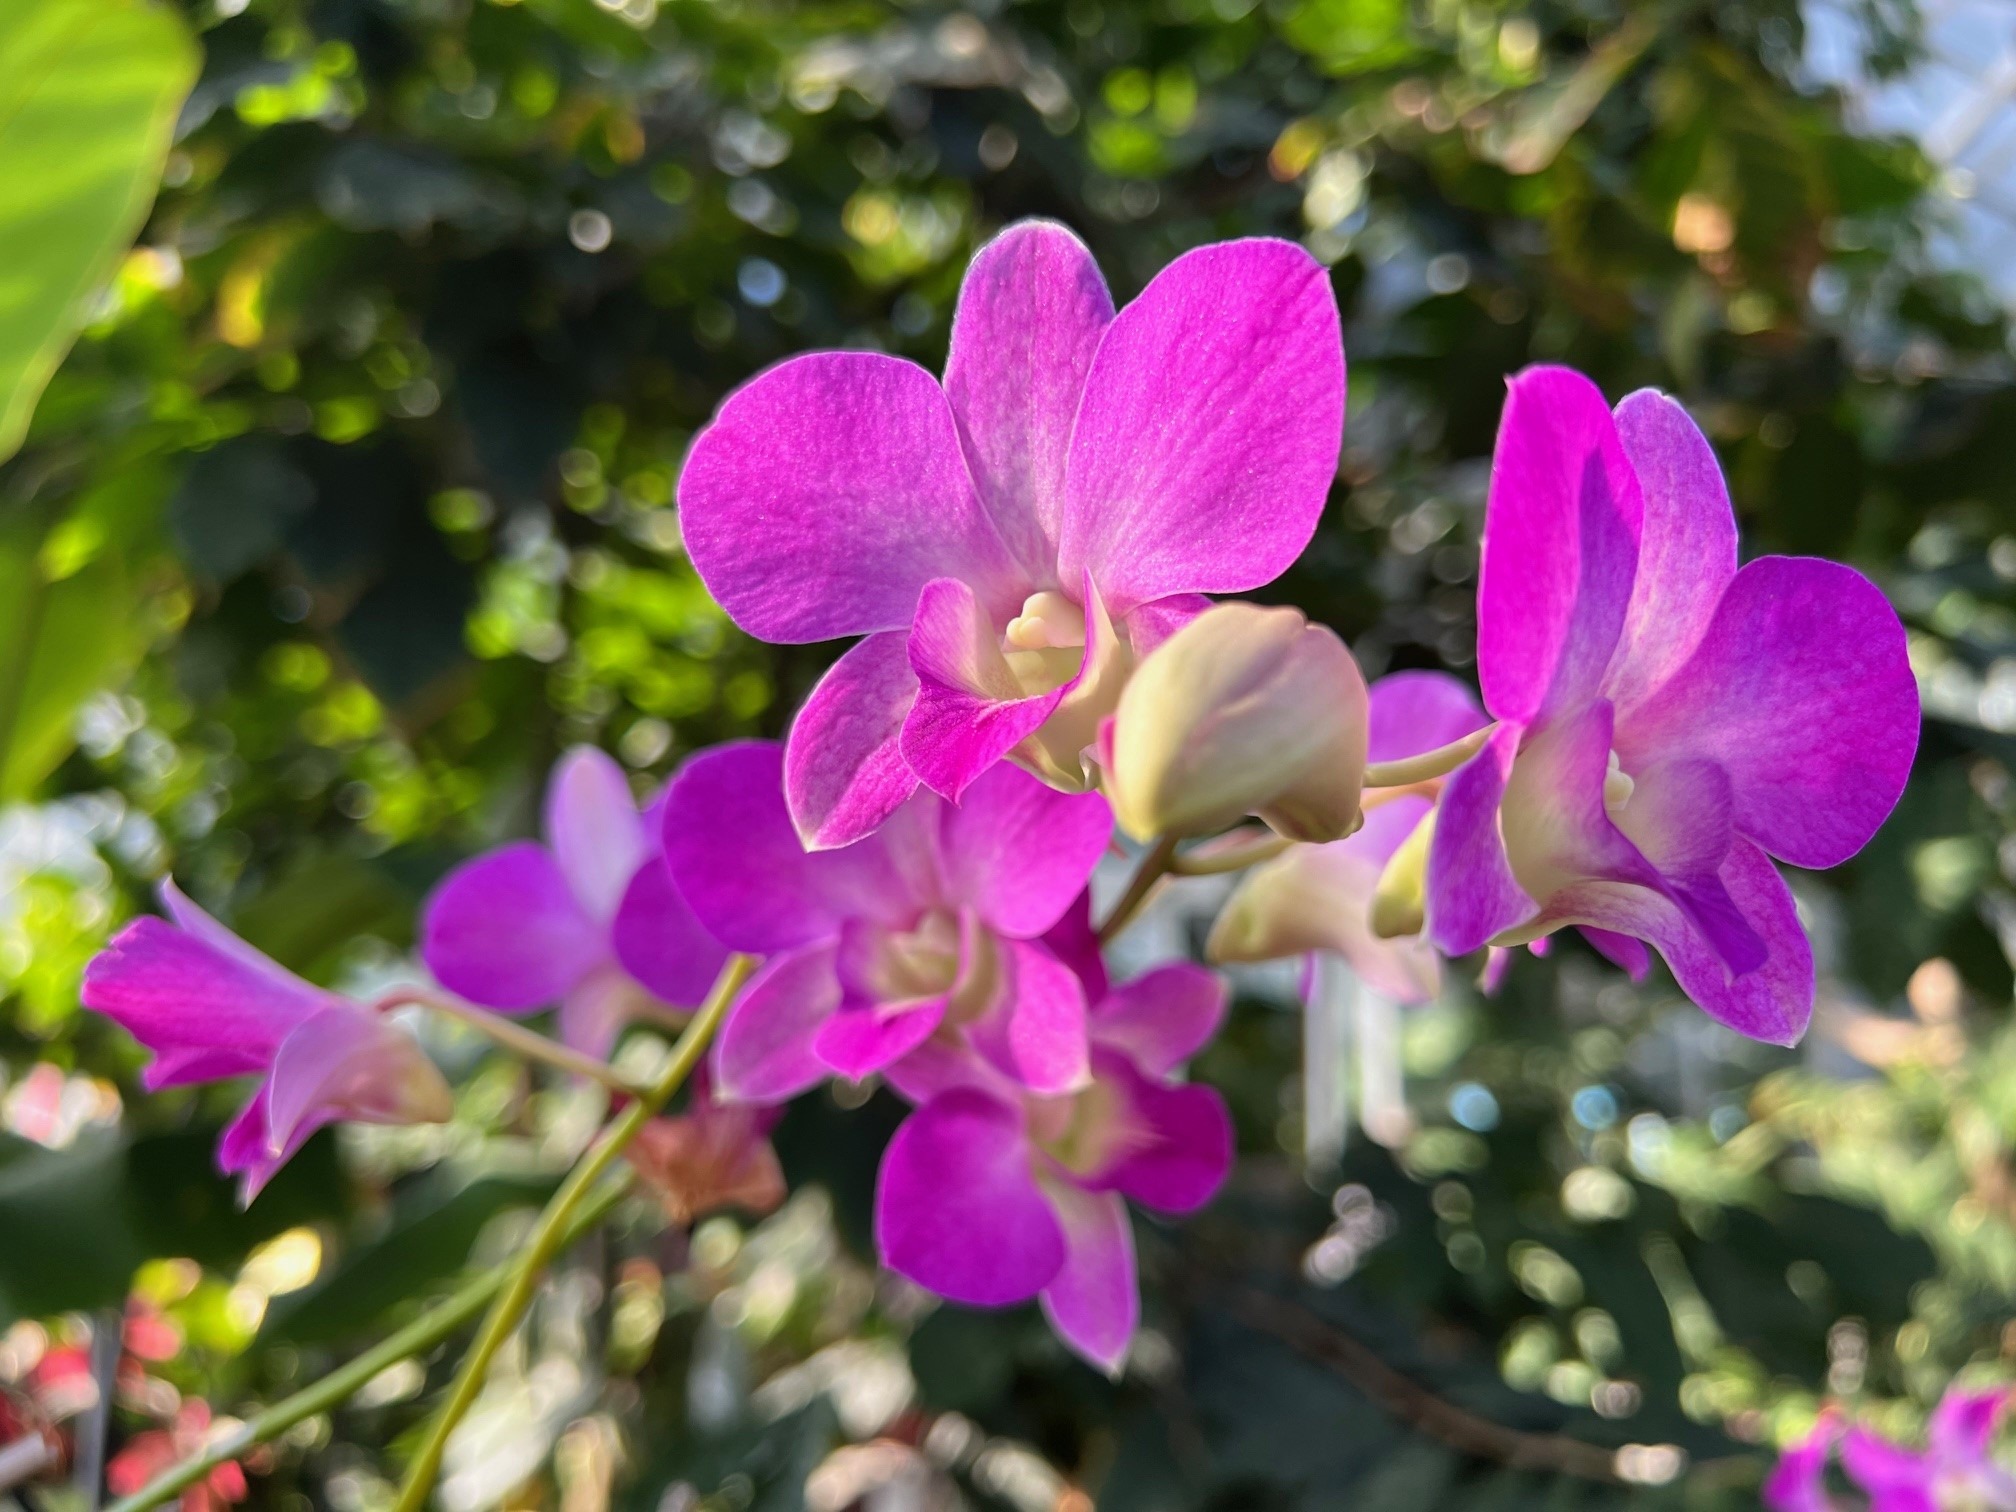
Lei orchids (Dendrobium) growing in the Conservatory at Lewis Ginter Botanical Garden. photo by Leigh Crandall
Owning an orchid is an exercise in obedience. Both delicate and demanding, these exotic beauties with their elusive blooms are very particular about light, temperature, humidity, growing medium and even the pot you put them in. But cater to its every need, and an orchid will reward you handsomely with abiding blooms.
About 10 percent of all plant species worldwide are orchids – an estimated 30,000 different species grow in the tropical climates of Central and South America, Africa and Asia. North America is home to 150 native species.
Growing conditions can vary from species to species. If you aspire to own a flourishing, flowering orchid, begin by researching the requirements for your particular plant. (The American Orchid Society offers a growing guide for the most popular species.) Then follow this basic guide for recreating those conditions in your own home.
1. Light
Most orchids prefer bright indirect light. Vivid yellow-green foliage indicates that an orchid is getting the right amount of light to initiate bloom. Dark green leaves are a sign of insufficient light, while overly yellow leaves can mean too much light. Adjust the amount of light by moving the plant closer or further from the light source, especially as the seasons change.
2. Water
The best place to water an orchid is in the kitchen sink. Let lukewarm tap water (not salt-softened or distilled) run slowly onto the soil surface and out of the drainage hole for 15-30 seconds. Then leave the plant to drain in the sink for another 15 minutes before returning it to its normal spot. The soil should be evenly moist.
Because most orchids require good air circulation around their roots, they should be kept on the dry side. A pot that feels light when lifted is ready to be watered. Plump, pliable white to pale green roots that turn vibrant green when wet are the hallmark of a healthy orchid.
3. Humidity
Orchids thrive in 40 to 70% humidity. To raise the humidity level, place pots on gravel-lined trays filled with water. As the water evaporates, it will increase the relative humidity around the plant.
Be sure to set the pots above the water line to allow air circulation under the pot which will protect the roots from rotting. Specialized stone is available that absorbs water and releases it gradually into the air.
4. Fertilizer
Orchids make efficient use of fertilizer. During their growth period from late spring through early fall, feed potted orchids every third or fourth time you water. Reduce applications to once a month when lower light slows growth during the winter months. Choose a fertilizer with a 3:1:1 ratio of nitrogen/phosphorous/potassium and dilute it to half the strength recommended on the product label.
5. Pests
Orchids are blissfully immune to many pests and diseases – their fleshy leaves and thick stems help protect them from most sucking insects. But they are prone to scale and mealybugs. Treat mealybugs by simply rubbing them off the foliage with your fingers, paying particular attention to the area where the leaves emerge from the stem. Scale is best managed by wiping with a cotton swab soaked in a small amount of rubbing alcohol.
6. Growing medium
Commercial potting mediums that are specially prepared for orchids are typically a mix of fir bark and other components like coarse peat moss, redwood fiber, charcoal, osmunda fiber or tree fern fiber. Orchids derive nutrients from the loose, chunky bark mix, and air from the space between the pieces. Over time, the mix will decompose, compacting the airspaces and suffocating the roots. Repot when you notice the growing medium is breaking down.
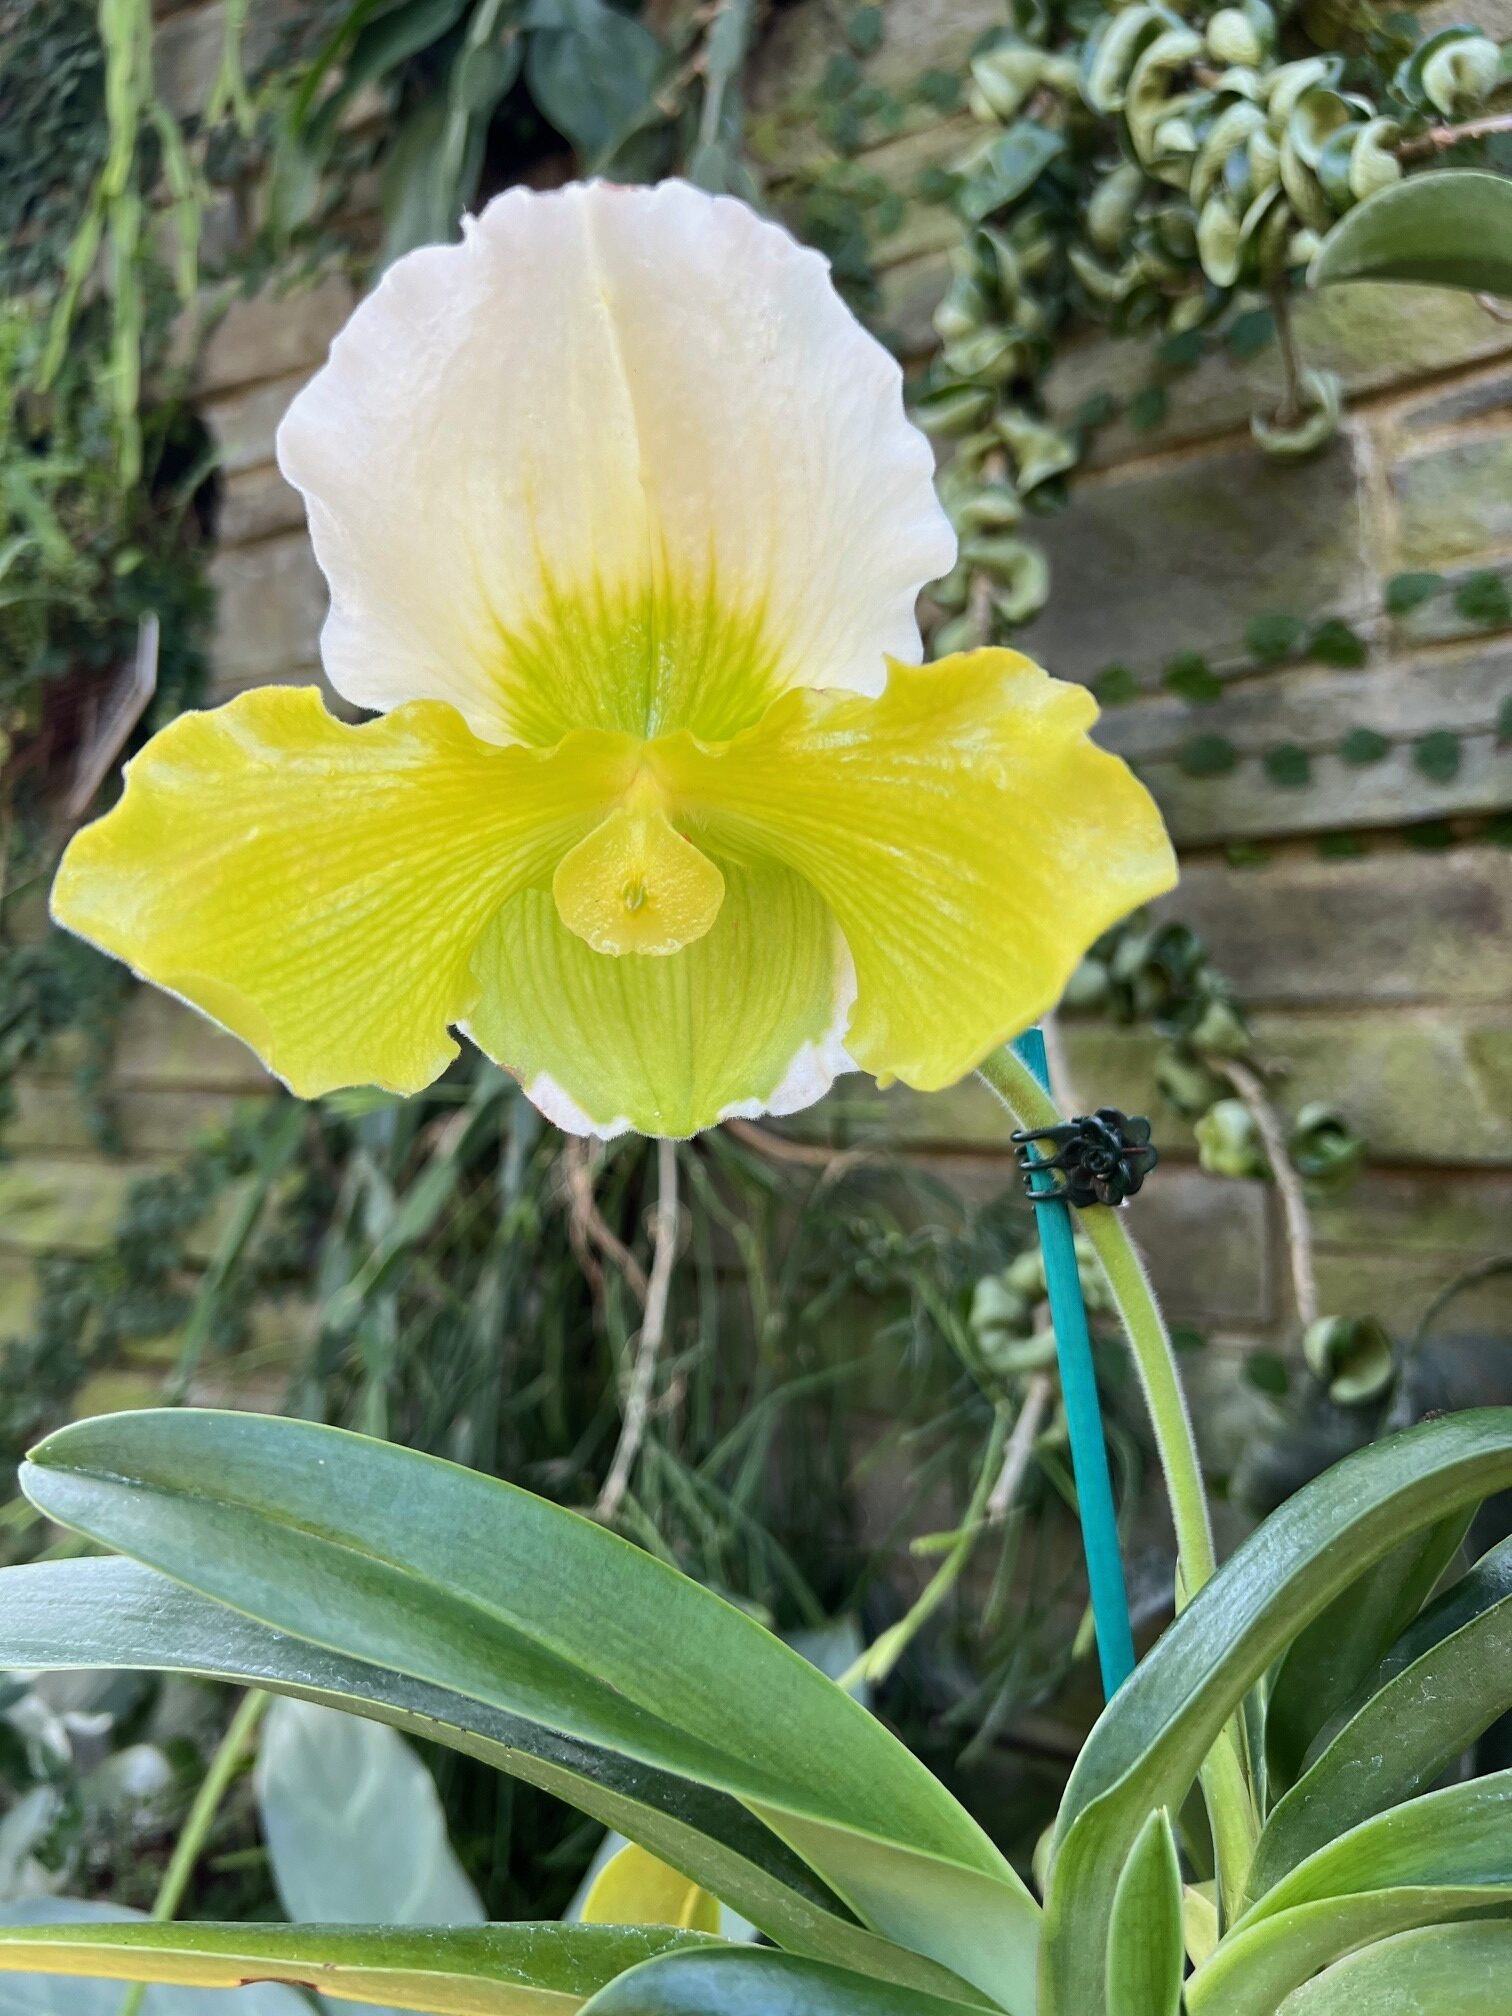
A slipper orchid (Paphiopedilum) is staked to support its stem. photo by Leigh Crandall
7. Staking
Support the stem of a blooming orchid with a slender, rigid stake made of bamboo, wood, or metal. Gently push the stake into the growing media next to the stem that needs support, being careful not to damage leaves or roots. Secure the flower stalk to the stake with loose plastic clips or plant ties.
8. Re-potting
Orchids prefer a snug pot. They are more likely to bloom when they are moderately pot bound. When they run out of room, their roots will wander out of the pot and into the air around it. The best time to re-pot is after flowering, when stubby new roots have begun to emerge from the stem.
The type of pot is a matter of choice, although the weight of a clay pot will help anchor a top-heavy plant. Begin by removing the orchid from its pot, gently untangling the roots to remove any growing medium. Give the roots a thorough rinse to wash away any remaining soil and then use sterile shears to trim off any that appear black, soggy or hollow. Then suspend the plant in its new pot, gently filling in around roots until the plant sits on the surface. Settle it in by using a dowel to gently work the growing medium around the freshly separated roots. Water thoroughly to settle the new bark around the roots.
Always re-pot a newly purchased orchid if it is packed in sphagnum moss which will retain too much moisture.
9. Making More Orchids
Phalaenopses, or moth orchid, is one of the most popular species. Solid, striped and even spotted, their white, pink, purple, yellow or salmon blooms are strung along a single arching stem. They grow on trees in the warm, humid shade of the tropical forest in India, southern China, and Southeast Asia. In this country, Phalaenopses are available in grocery stores and garden centers. Simple to care for, they adapt easily to home environments where they will bloom once a year for 3-4 months under the right conditions.
Phalaenopsis will produce a baby plantlet called a “keiki.” A keiki (kay-kee), the Hawaiian word for “child,” emerges from a flower spike. It will start out very small, pushing out several tiny leaves followed by miniature roots. When the roots reach just over an inch in length, use a sterile knife to gently remove the plantlet. Pot it in fresh media and with proper care, a keiki will reach flowering size in two or three years.
10. Blooming
Persuading an orchid to bloom can seem frustratingly mysterious, mostly because methods vary from species to species. For most orchids, temperature change is the determining factor. Many species require a 4-to-6-week period when nighttime temperatures dip to 10-15 degrees Fahrenheit below daytime temperatures, making winter the most likely bloom period. Some orchids flower continuously for most of the year, some bloom several times during the year and others only once a year.
Flowers often last for several months before withering and dropping off. Cut the spike back to one inch above its emergence point after flowering is over. Some orchids can be stimulated to flower a second time in the same year. To encourage a second bloom, cut back the flower spike to just above where the first bud emerged.
Horticulturists at Lewis Ginter Botanical Garden work behind the scenes all year-round to keep the Garden’s orchid collection re-blooming. This time of year, as the plants reach the peak of their bloom cycle, they are moved from the Garden’s production greenhouses into the east wing of the Conservatory, where an aspiring orchid grower can go for inspiration.
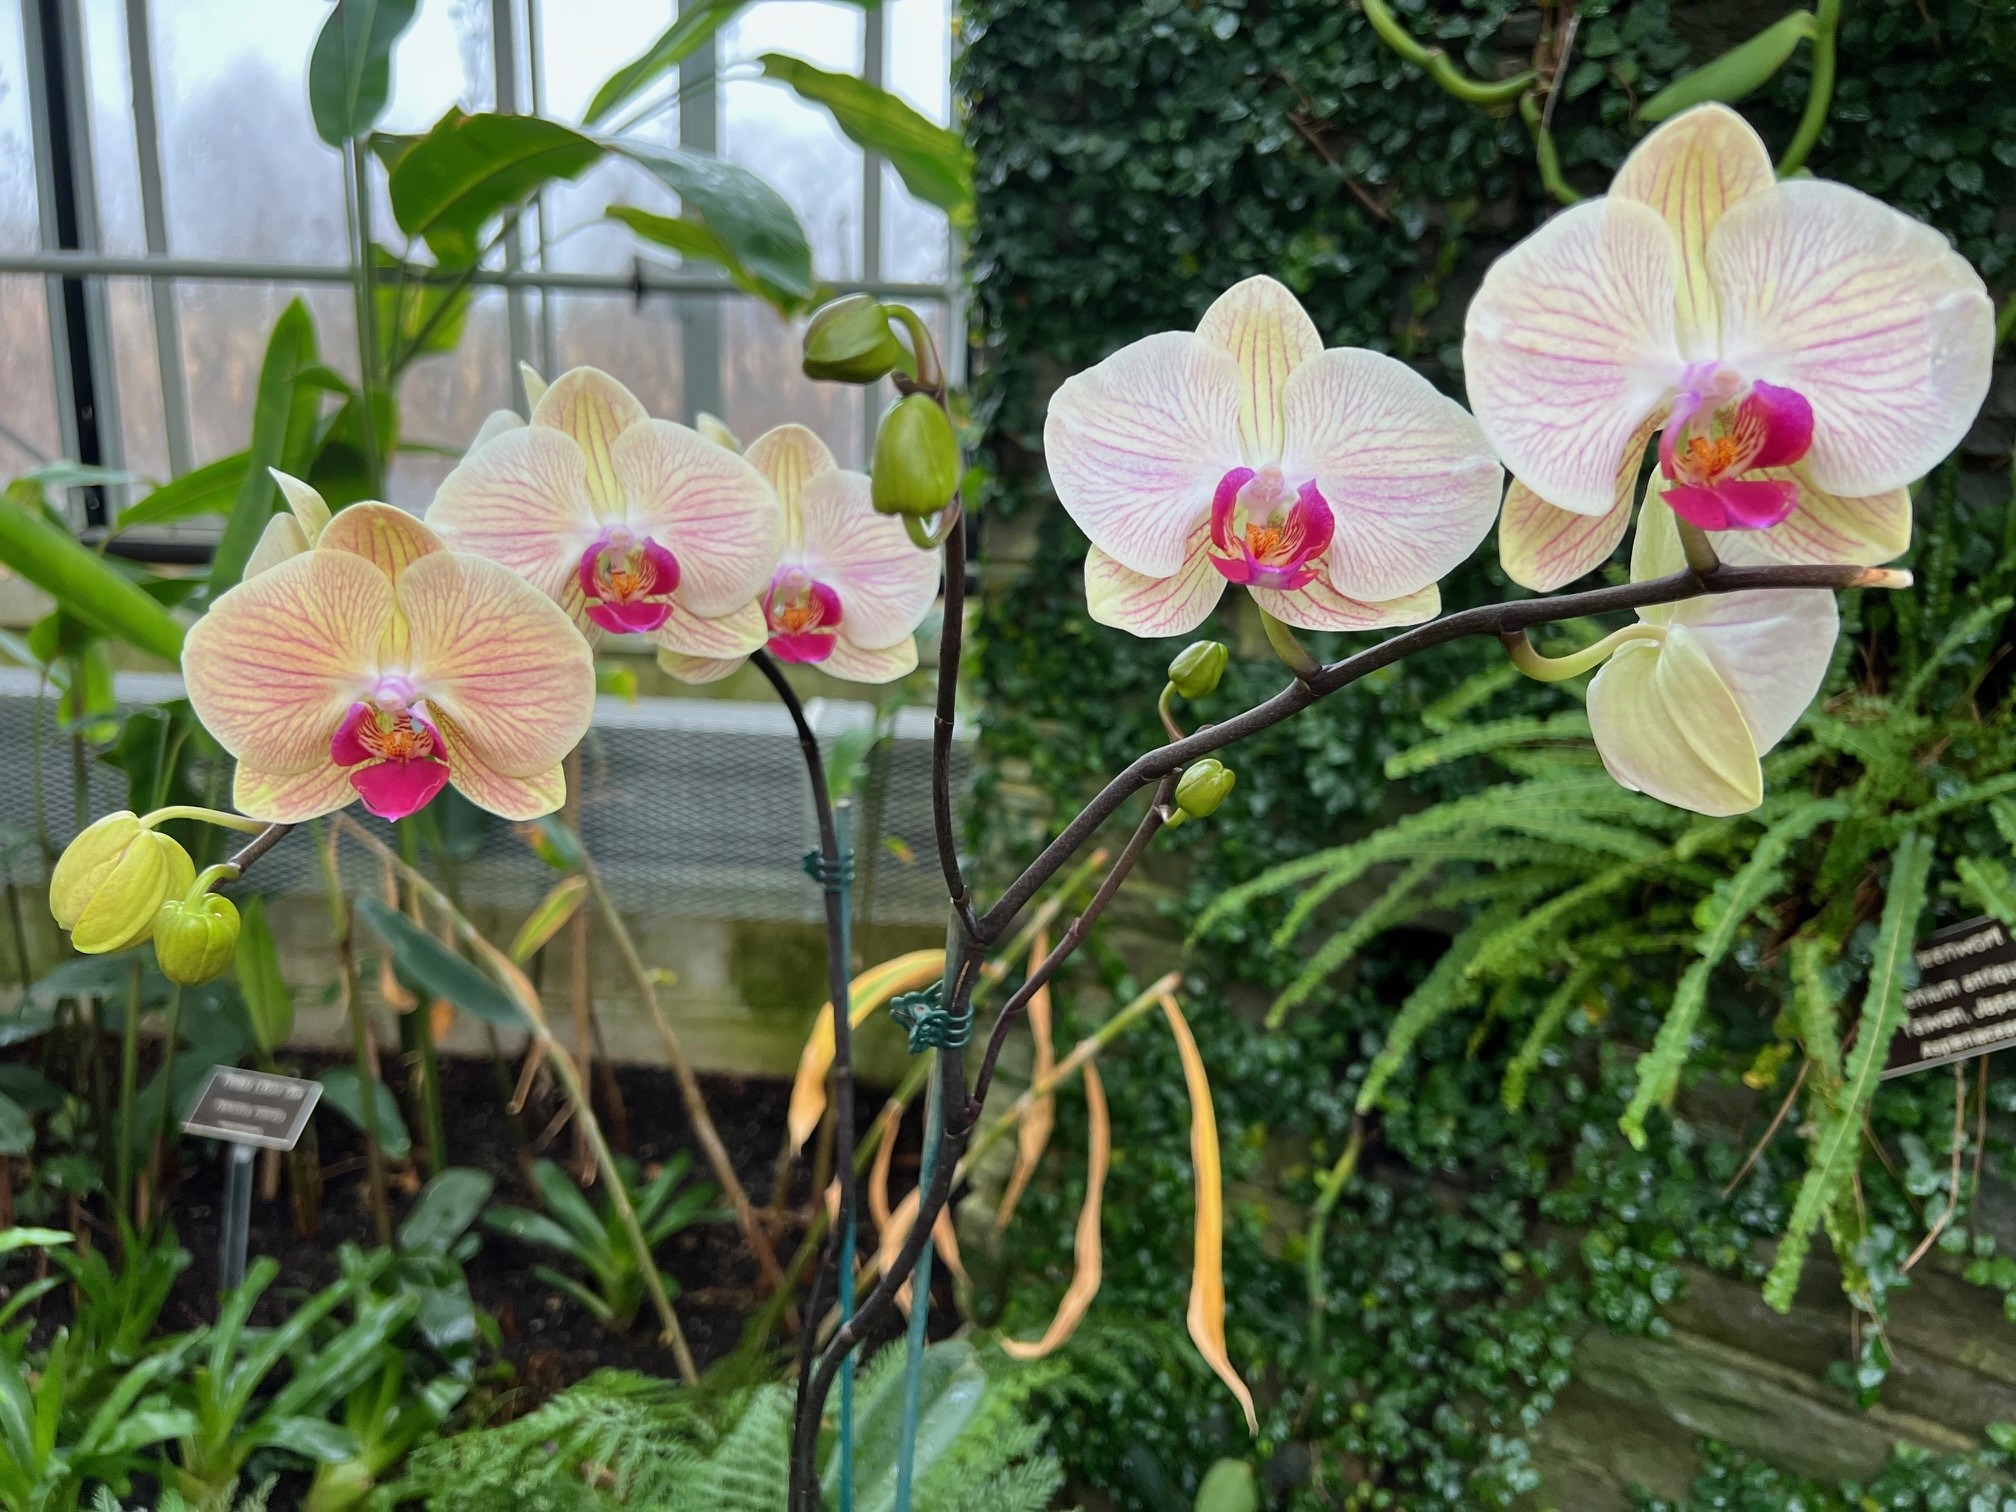
Moth orchids (Phalaenopsis) are among the most popular species. photo by Leigh Crandall
Don’t miss these other opportunities to master the art of orchid care with classes and events at the Garden:
Air Plants & Orchid Pots (February 21 & 28, 10am-12:30pm)
Design, build and decorate your own pierced orchid pot using a variety of hand-building techniques and glazes.
Virginia Orchid Society Show & Sale (February 23-25)
Admire hundreds of orchids, purchase your favorites and attend free lectures for beginners and experienced growers at the Virginia Orchid Society Show and Sale, Orchids: Let’s Celebrate
Orchid Care Unveiled (March 13 from 6-8pm)
Immerse yourself in art of orchid growing with a series of lectures and hands-on experiences that will conclude with a Q&A session in the east wing of the Conservatory, surrounded by Garden’s own orchid collection.